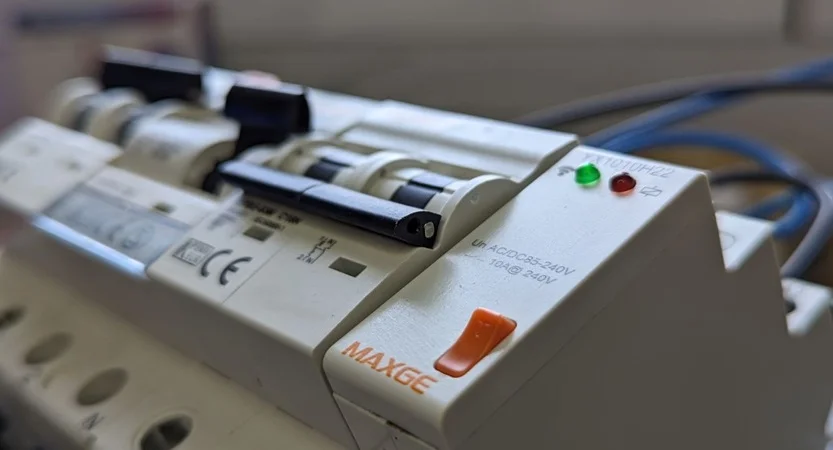
Today we are going to talk about a newly released device in the Retelec catalog for this 2024: a Smart Relay for Electrical Panels. If you like electricity, electrical panels and home automation, you are in the right place.
Let’s start by talking about this device in general.
Retelec Smart Relay for Electrical Panels
As I mentioned earlier, this smart relay is designed to work in our cabinets or electrical panels. This is due to its DIN rail mounting feature, which makes it special for this type of functionality.
With this equipment we will be able to remotely control our electrical circuits or any device that we have connected to it. It works and connects like any other relay you know, but what makes it special is that we can control it remotely because it is an intelligent device.
Physical and Technical Characteristics of the Retelec Smart Relay
Technical Characteristics of Retelec Smart Relay
We are in the presence of a fairly compact equipment, as it will occupy only one module of space in our electrical cabinet, this is much appreciated, especially when we have little space to work and add new equipment. On the other hand, to the touch it feels like any other equipment of these features and range, it is a fairly simple and fair plastic encapsulation for the benefits that this device has. We can not fail to take into account that this equipment is still a relay. So far nothing new.
This intelligent relay Retelec is designed to support up to 10 amps in voltages from 120 to 240 volts in alternating and 24 volts in direct, with this we will be able to control equipment up to 2400 watts of power. These features are fairly standard in the range of smart relays on the market, you can see them present in Sonoff´s smart relays or other similar manufacturers.
Physical Characteristics of the Retelec Smart Relay
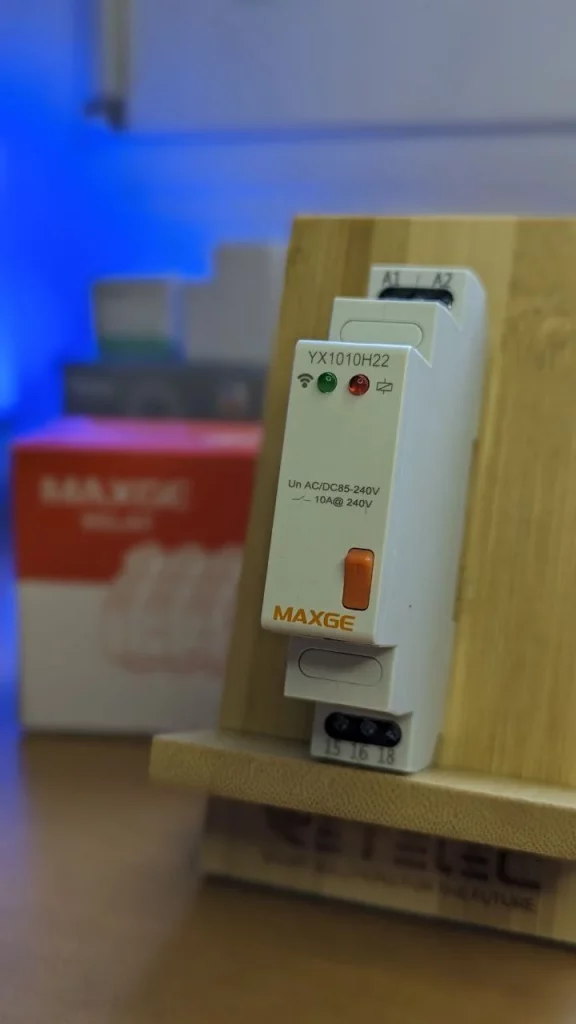
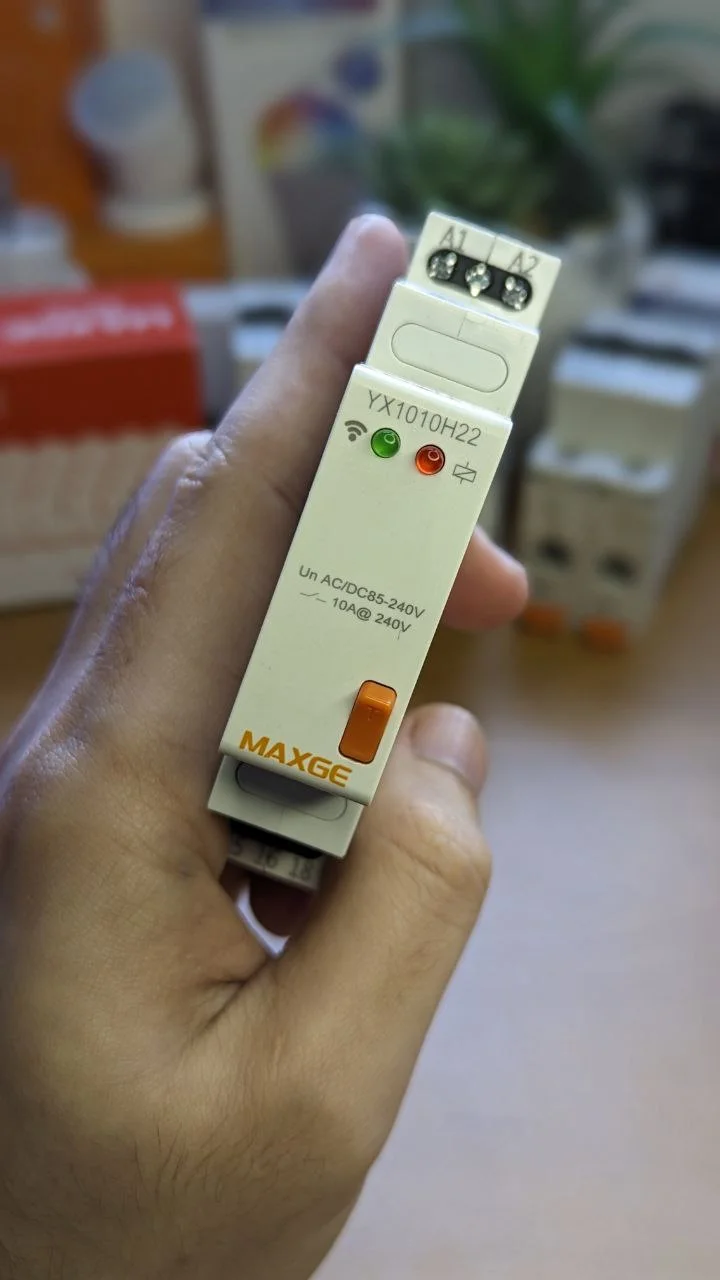
At the top of the equipment we have the power pins. It has caught my attention that we have a third pin in the middle of the A1 and A2 that according to the schematic does not fulfill any function, if this is the case, I do not understand the sense of placing it since it could lead to mistakes in the power connections. Perhaps this is something that could be eliminated for some future updates of this equipment.
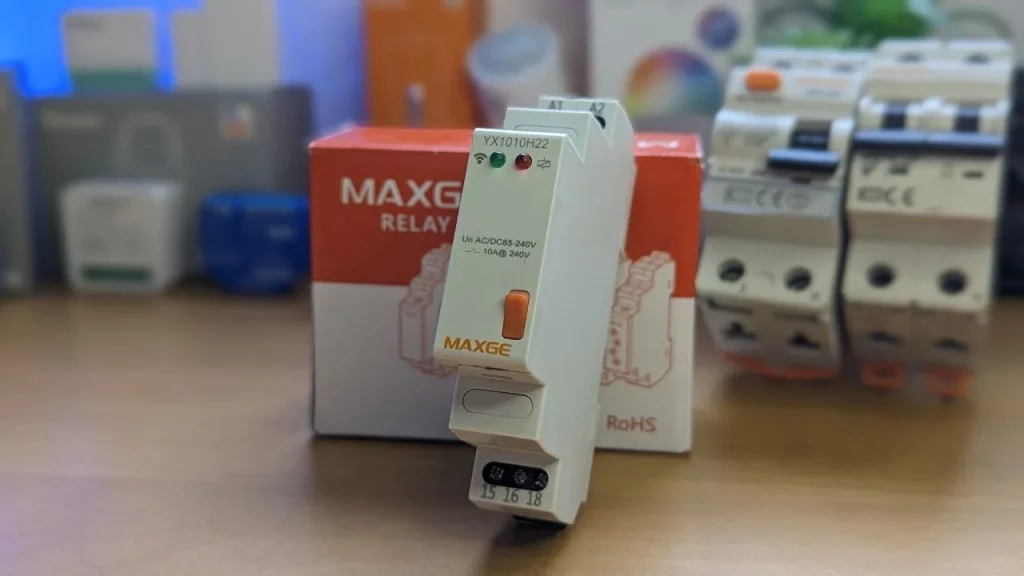
At the bottom of the device we have the 3 pins of connection of our outputs to control. We have a pin for a normally open contact, another for the common and the last for normally closed, as I said before, like any other relay you’ve seen.
On the back of the equipment we will have the DIN rail connectors and finally on the front of our smart relay we will have two status LEDs: one to indicate the wifi connection and the other to know the activation status of the relay. Finally, we also have an orange switch that will give us the ability to reboot our device or leave it in normal operating mode. This comes by default, but through the application we can configure this switch to change the status of our relay manually if needed.
Retelec Smart Relay Compatibility and Functionalities
This device with the Tuya Smart or Smart Life applications through our 2.4ghz wifi. It connects in a very fast way and we will only have to connect to our wifi, open the application, select a new device and finally add a name for it. In a few seconds you will have it fully operational.
With this smart device we will be able to turn on and off our equipment or electrical circuits remotely. We will be able to create timings, time schedules or even simulate presence in our home by turning on and off randomly, all this configurable from the control application.
Assembly, connection and configuration of Retelec Smart Relay
To connect our device the first thing we have to do is to place our smart relay on the din rail of our electrical panel. Once we have defined the electrical circuits to control we proceed first to connect the power supply of our device, as I said above we will do this by connecting our phase to A1 and neutral to A2.
After this, we move on to connect the switching on and off of our lighting circuit. First, we connect our phase line to pin 15, located at the bottom of our equipment. In my case, since I want to operate as a normally open contact in its normal state, I will connect the output wire of the maneuver on pin 18 to the load. And finally I will need to connect the load neutral to the N connector on my electrical panel. Now we would have everything ready to work. Now we simply open our application, enter our device and we can control our circuit without any problem.
One lime and one sand
During the tests to this equipment something that has surprised me is how fast it reconnects to our wifi if we disconnect and reconnect to electricity. But I have also missed something, and is the ability to measure power consumption of our loads. I hope that for future versions it will be something that we can see incorporated.
How to buy the Retelec Smart Relay?
To purchase this device you only have to contact the friends of Retelec, tell them that you are on my behalf and they will recommend the best place depending on where you are so you can buy it at the best possible price. Here is the direct link to their website so you can do it directly.
Conclusions
I think that for a first product in the range of intelligent equipment Retelec is pretty good. As in all the first versions of something, there are things to improve and add for the future as I mentioned before, but I think it is a device to consider if we want to automate a little more the control of circuits in our electrical panels. I really hope it is the first of many equipment that we can see this year and thus expand much more options available on the market and especially in Spain.
Before I say goodbye I would like to invite you to join our Official Telegram Channel so you do not miss any of the content that we publish. It’s just a Content Broadcasting Channel, so it’s pretty quiet and you will only receive notifications of the new content we publish. You can join by clicking here.
If you liked this article let me know with a like and share it with everyone you know to let them know about this new market alternative that we already have available in Spain. I say goodbye and hope to see you in the next article.

